Home/Blogs/How to Clean Muddy Dog Paws: Quick & Easy Methods
How to Clean Muddy Dog Paws: Quick & Easy Methods
Every dog owner knows the struggle: you take your furry friend for a nice walk, and they come home with paws caked in mud, ready to track dirt throughout your house. Whether it’s after a rainy day adventure or a romp through the park, dealing with muddy paws is part of life with dogs.
The good news? You don’t need expensive equipment or complicated routines to keep those paws clean. With the right techniques and a few simple supplies, you can quickly transform those messy paws back to their pristine condition.
Why Clean Dog Paws Matter
Before jumping into the cleaning methods, let’s talk about why maintaining clean paws is important for both you and your pet:
Health Benefits:
Prevents bacterial and fungal infections
Removes harmful chemicals from roads and sidewalks
Reduces risk of cuts from hidden debris
Helps detect injuries or foreign objects early
Home Benefits:
Keeps floors and furniture clean
Reduces tracking of dirt and allergens
Maintains better indoor air quality
Saves time on house cleaning
Essential Supplies for Dog Paw Cleaning
Having the right tools makes all the difference. Here’s what you’ll need:
Basic Supplies:
Clean towels (microfiber works best)
Lukewarm water
Gentle dog shampoo or soap
Shallow basin or container
Pet paw care wipes
Optional Supplies:
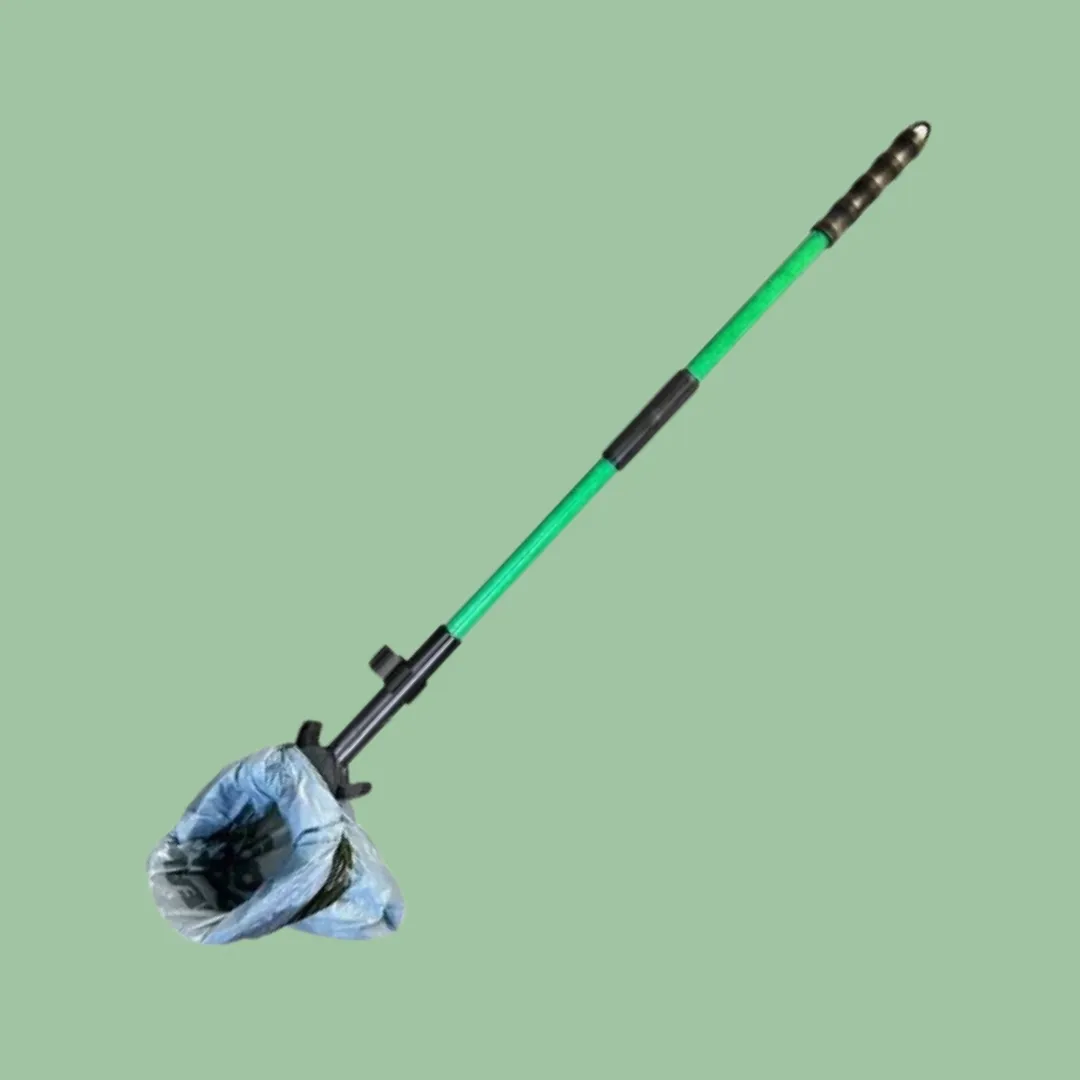
Paw cleaning cup or muddy buddy
Rubber mat for traction
Treats for positive reinforcement
Blow dryer (on cool setting)
Method 1: The Quick Towel Technique
This is your go-to method for light mud and everyday maintenance.
Step 1: Keep a designated “paw towel” by your door Step 2: Gently lift each paw and wipe from top to bottom Step 3: Pay special attention to the spaces between toes Step 4: Use a damp section of the towel for stubborn spots Step 5: Finish with a dry towel to prevent moisture buildup
Pro Tip: Train your dog to automatically lift their paws when you say “paw” – this makes the process much smoother.
Method 2: The Water Basin Method
Perfect for heavily muddy dog solutions that need more thorough cleaning.
What You’ll Need:
Shallow basin filled with 2-3 inches of lukewarm water
A few drops of gentle dog shampoo
Clean towels
Steps:
Fill your basin with lukewarm water
Add a small amount of dog-safe soap
Gently dip each paw in the water
Swirl the paw around to loosen mud
Lift and inspect – repeat if necessary
Dry thoroughly with a clean towel
Important: Never use hot water, as dog paw pads are sensitive to temperature.
Method 3: The Paw Cleaning Cup Technique
This method works great for dogs who are comfortable with having their paws handled.
How It Works:
Fill a tall cup or paw cleaner with water
Add a drop of gentle soap if needed
Insert the muddy paw into the cup
Gently move the paw up and down
Remove and dry with a towel
This technique is especially effective because it allows the water to reach all the crevices between toes where mud likes to hide.
Method 4: Professional Dog Hygiene Hacks with Wipes
Sometimes you need a quick solution that doesn’t require water.
When to Use Wipes:
Light mud or dirt
When water isn’t available
For touch-ups after other methods
During travel or outdoor adventures
Best Practices:
Choose alcohol-free, pet-safe wipes
Use gentle, circular motions
Don’t forget the areas between toes
Dispose of wipes properly
Method 5: The Prevention-First Approach
The best way to deal with muddy paws is to prevent them from getting dirty in the first place.
Prevention Strategies:
Use dog boots during muddy seasons
Stick to paved paths when possible
Keep walks shorter during rainy weather
Create a designated “cleaning station” at your entrance
Dealing with Different Types of Mud
Not all mud is created equal. Here’s how to handle different consistency levels:
Wet, Fresh Mud:
Easier to clean but messier
Use the water basin method
Work quickly before it dries
Dried, Caked Mud:
Harder to remove but less messy
Let it dry completely, then brush off excess
Follow with damp towel cleaning
Sandy Mud:
Can be abrasive to paw pads
Rinse thoroughly to remove all particles
Check for cuts or irritation afterward
Post-Cleaning Pet Paw Care
After cleaning, proper care ensures your dog’s paws stay healthy:
Drying:
Always dry paws completely
Pay attention to spaces between toes
Use a blow dryer on cool setting if your dog tolerates it
Inspection:
Check for cuts, thorns, or foreign objects
Look for signs of irritation or infection
Trim overgrown hair between paw pads if needed
Moisturizing:
Apply paw balm if pads appear dry
Use pet-safe products only
Avoid over-moisturizing, which can lead to soft, vulnerable pads
Training Your Dog for Easy Clean Muddy Paws Sessions
Teaching your dog to cooperate makes the cleaning process much easier:
Start Early:
Handle your puppy’s paws regularly
Make it a positive experience with treats
Practice when paws are clean, not just muddy
Use Positive Reinforcement:
Reward calm behavior during cleaning
Offer treats and praise
Keep sessions short and positive
Create a Routine:
Clean paws in the same location each time
Use consistent commands
Be patient and consistent
Common Mistakes to Avoid
Using Human Products:
Human soaps can be too harsh
Some ingredients are toxic to dogs
Stick to pet-specific products
Rushing the Process:
Taking your time prevents stress
Thorough cleaning prevents future problems
Patience leads to better cooperation
Ignoring Between-Toe Areas:
Mud hides in these spaces
Trapped moisture can cause infections
Always check and clean thoroughly
When to Seek Professional Help
Sometimes, professional grooming or veterinary care is needed:
See a Groomer If:
Your dog has excessive hair between paw pads
You’re uncomfortable trimming nails
Deep cleaning is needed
See a Veterinarian If:
You notice cuts or wounds
There are signs of infection (swelling, discharge, odor)
Your dog shows signs of pain or limping
Seasonal Considerations
Different seasons bring different challenges for paw cleaning:
The key to successful paw cleaning is making it enjoyable for your dog:
Before You Start:
Ensure your dog is calm and relaxed
Have treats ready
Choose a time when you’re not rushed
During Cleaning:
Speak in a calm, reassuring voice
Move slowly and gently
Reward good behavior immediately
After Cleaning:
Give plenty of praise
Offer a favorite treat
Consider a brief play session as a reward
Conclusion
Keeping your dog’s paws clean doesn’t have to be a daily battle. With the right techniques, supplies, and approach, you can quickly and effectively clean muddy paws while keeping both you and your furry friend happy.
The key is finding the method that works best for your dog’s temperament and your lifestyle. Whether you prefer the quick towel technique for light cleaning or the thorough basin method for heavily soiled paws, consistency and patience will make the process easier over time.
Remember, clean paws aren’t just about keeping your house tidy – they’re an important part of your dog’s overall health and wellbeing. By making paw cleaning a regular part of your routine, you’re helping prevent infections, injuries, and other health issues while strengthening the bond between you and your pet.
Start with the basics, be patient with the training process, and don’t be afraid to adjust your technique based on what works best for your specific situation. Before you know it, paw cleaning will become second nature for both you and your dog.
FAQs
How often should I clean my dog’s paws?
You should clean your dog’s paws after every walk in muddy or dirty conditions. For regular maintenance, a quick wipe down after outdoor activities is sufficient. During muddy seasons, daily paw cleaning may be necessary, while in dry conditions, 2-3 times per week is typically adequate.
What’s the best water temperature for cleaning dog paws?
Use lukewarm water, similar to what you’d use for a baby’s bath. The water should feel comfortable to your touch – not hot or cold. Dog paw pads are sensitive, and water that’s too hot can cause burns, while cold water can be uncomfortable and cause your dog to resist the cleaning process.
Can I use baby wipes to clean my dog’s paws?
It’s better to use wipes specifically designed for pets. Baby wipes may contain ingredients that aren’t safe for dogs if they lick their paws afterward. Pet wipes are formulated to be safe if ingested and are designed for animal skin pH levels.
My dog hates having their paws cleaned. What can I do?
Start slowly with positive reinforcement. Handle your dog’s paws when they’re clean and calm, offering treats and praise. Gradually introduce the cleaning routine, keeping sessions short and positive. Some dogs respond well to distraction with toys or treats during cleaning.
Should I clean between my dog’s toes?
Yes, cleaning between toes is crucial. Mud, debris, and moisture can get trapped in these areas, leading to infections or irritation. Use a soft cloth or your fingers to gently clean between each toe, and make sure to dry thoroughly afterward.
How do I know if my dog’s paw is injured during cleaning?
Look for signs like limping, excessive licking, swelling, cuts, or foreign objects. If you notice any wounds, discharge, or if your dog shows pain when you touch their paw, stop cleaning and consult your veterinarian. Clean, minor cuts can be treated at home, but deeper wounds need professional attention.
What should I do if mud is stuck under my dog’s nails?
Use a soft brush or cloth to gently work the mud out from under the nails. You can also use a toothpick or similar blunt tool, but be very careful not to injure the quick. If the mud is severely caked, soaking the paw in warm water for a few minutes can help soften it for easier removal.
Is it okay to use a hair dryer to dry my dog’s paws?
Yes, but only on the cool setting and at a safe distance. Many dogs are afraid of the noise, so introduce it gradually. Always test the air temperature with your hand first, and never use hot air. If your dog is uncomfortable with the dryer, stick to towel drying.
If you love dogs but suffer from allergies, you’ve probably searched for “hypoallergenic dog breeds” hoping to find a furry friend that won’t make you sneeze. The truth is, there are no 100% hypoallergenic dogs, dog breeds, or mixed-breeds. However, certain breeds produce fewer allergens, making them better suited for
Every dog owner faces the same daily task: cleaning up after their furry friend. Most of us toss waste into the trash without a second thought, but what if there was a more environmentally friendly option? Pet waste composting has gained attention as a potential solution, yet many pet parents
Every dog owner knows this scenario: your pup finishes a great walk and runs toward the door with muddy, dirty paws. As a result, those paws track debris, dirt, and unwanted substances throughout your home. Beyond the obvious mess, however, those paws carry more than just mud. Learning how to